Links below are affiliate links. We earn a commission on purchases at no extra cost to you.
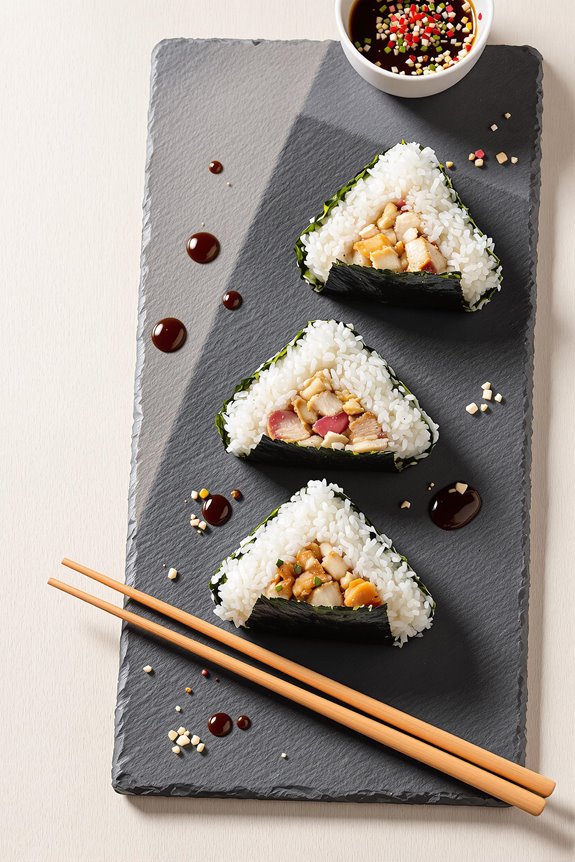
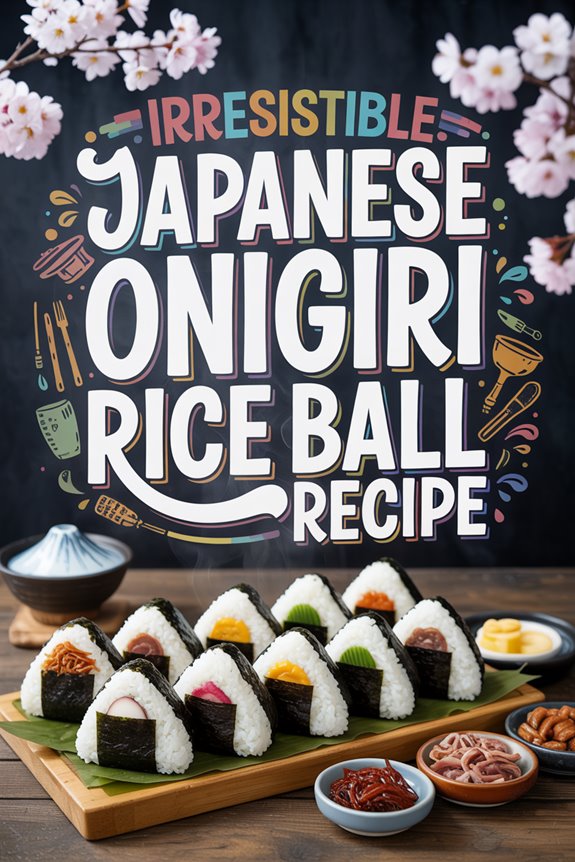
Irresistible Japanese Onigiri Rice Ball Recipe
Knead, fill, and shape your way to handheld bliss with these customizable Japanese rice balls that transform simple ingredients into portable magic.
Why You’ll Love these Japanese Onigiri Rice Balls
Three reasons why you’ll fall head over heels for these Japanese onigiri rice balls: they’re customizable, portable, and absolutely delicious!
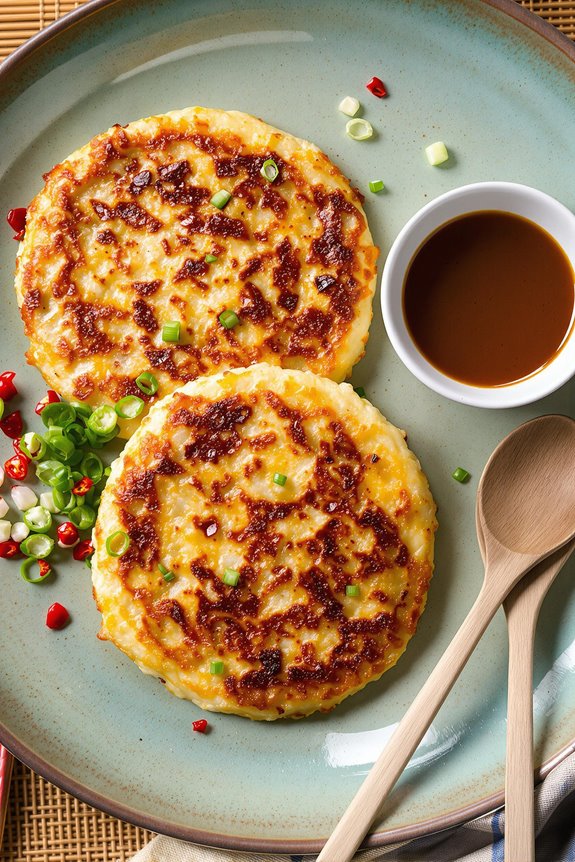
You may be interested
I’m obsessed with how these little rice bundles transform humble ingredients into something magical. The slightly warm, seasoned rice cradles your choice of fillings—tuna with creamy Japanese mayo, tangy umeboshi, savory BBQ chicken, or delicate egg—all wrapped in a crisp nori sheet that adds the perfect textural contrast.
They’re perfect for lunch boxes, picnics, or midnight snacks when you need something substantial but not heavy. Trust me, once you start making onigiri, you’ll never stop!
What Ingredients are in Japanese Onigiri Rice Balls?
Japanese onigiri are incredibly versatile rice balls that require just a few simple ingredients to create something truly special. The beauty of these handheld treats lies in their simplicity—at their core, they’re just seasoned rice formed into shapes with delicious fillings tucked inside. Think of them as Japan’s answer to the sandwich, but with rice instead of bread.
Ready to gather everything you need for this perfect portable meal? The ingredients are probably simpler than you might expect.
- 2 cups cooked rice (slightly cooled)
- 1/4 cup rice seasoning (furikake)
- Water (for wetting hands)
- Salt (to taste)
- 2 sheets nori (seaweed), cut into squares
- Fillings (choose one or several):
- 1/2 cup tuna mixed with Japanese mayonnaise
- 1/2 cup umeboshi (Japanese pickled plum)
- 1/2 cup finely chopped BBQ chicken or pork
- 1/2 cup scrambled egg seasoned with soy sauce
When shopping for these ingredients, the rice quality matters tremendously. Short-grain Japanese rice works best because of its stickiness, which helps the onigiri hold their shape.
Can’t find furikake seasoning? No worries—it’s available at Asian markets or online, but in a pinch, you could use a simple mix of sesame seeds and salt.
For the fillings, feel free to get creative beyond the traditional options listed. Leftover salmon, pickled vegetables, or even kimchi can make fantastic onigiri fillings. Just remember that whatever filling you choose should be relatively dry—too much moisture will make your rice ball fall apart before you get to enjoy it.
How to Make these Japanese Onigiri Rice Balls

Making onigiri is a delightful process that combines simple ingredients with a bit of hand-crafting. Start with 2 cups of cooked rice that’s cooled slightly but still warm enough to handle. If you’d like to add extra flavor, mix in 1/4 cup of rice seasoning (furikake) before shaping.
Next, prepare a small bowl by rinsing it with water and shaking off the excess—this prevents sticking—then sprinkle a bit of salt inside. This traditional technique helps preserve the rice and enhances its flavor.
Scoop some of your prepared rice into the salted bowl, then create a well in the center for your filling. You’ve got delicious options here: 1/2 cup of tuna mixed with Japanese mayonnaise, 1/2 cup of tangy umeboshi (Japanese pickled plum), 1/2 cup of finely chopped BBQ chicken or pork, or 1/2 cup of scrambled egg seasoned with soy sauce.
Add about 2 teaspoons of your chosen filling into the well, then cover it completely with more rice. Now comes the fun part—with wet hands (water prevents sticking), shape the rice into your desired form, whether that’s the traditional triangle, a simple ball, or even a heart if you’re feeling creative.
To make your onigiri easier to eat, wrap each rice ball with a square of nori (seaweed). The 2 sheets of nori should be cut into appropriately sized squares before you begin.
A word of wisdom about the nori: don’t wrap the rice balls until just before serving, as the seaweed quickly loses its pleasant crispiness when in contact with the moist rice.
For perfectly uniform rice and fillings, consider using a premium food processor to achieve consistent textures throughout your onigiri preparation.
And there you have it—a perfect handheld meal that’s as fun to make as it’s to eat. Who knew rice could be transformed into something so versatile and satisfying?
Japanese Onigiri Rice Balls Substitutions and Variations
While traditional onigiri is absolutely delicious as described above, you’ll be happy to know that these versatile rice balls welcome countless adaptations to suit your taste preferences and pantry inventory.
You can swap white rice for brown rice or mix in quinoa for extra protein. Don’t have umeboshi? Try salmon with cream cheese, leftover curry, or even kimchi for a Korean twist.
Vegetarians might enjoy avocado with sesame seeds or sautéed mushrooms with miso. The nori wrapper isn’t mandatory either—try using thinly sliced cucumber, lettuce leaves, or omit it completely.
The beauty of onigiri lies in its flexibility, allowing you to transform simple ingredients into portable, satisfying meals.
What to Serve with Japanese Onigiri Rice Balls
Three perfect accompaniments can transform your onigiri from a simple snack into a complete meal experience.
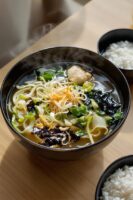
I’m particularly fond of serving these delightful rice balls with a bowl of miso soup, its umami-rich broth complementing the subtle flavors of the rice perfectly.
Add a side of quick-pickled vegetables—cucumber, daikon, or cabbage work wonderfully when thinly sliced and marinated in rice vinegar with a pinch of sugar and salt.
For a finishing touch, consider a small salad dressed with a light sesame-ginger vinaigrette that won’t overpower your carefully crafted onigiri.
Final Thoughts
Once you’ve mastered these traditional Japanese rice balls, you’ll find onigiri becomes a delightful staple in your culinary repertoire.
There’s something deeply satisfying about creating these handheld treasures, watching as simple ingredients transform into something both beautiful and delicious.
I’m constantly amazed by how versatile onigiri can be—from tuna with Japanese mayo to umeboshi’s tangy punch.
Don’t worry if your first few attempts look a bit lopsided (mine certainly did!).
The beauty of onigiri lies in its homemade charm.